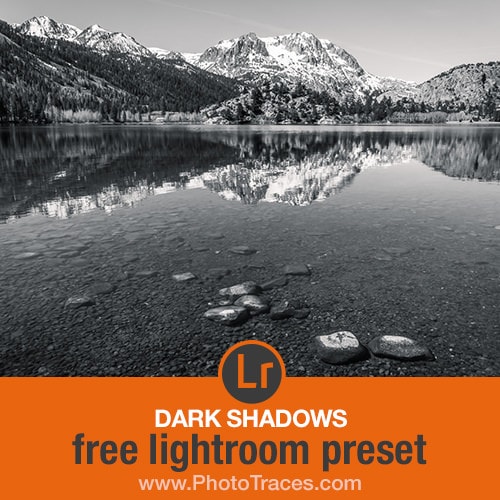
Dark Shadows
Free Black and White Lightroom Preset
Compatible with Lightroom 5, Lightroom 6, Lightroom Classic and the Creative Cloud (CC), and Lightroom Mobile.
How to Use Free Lightroom Preset
If you need help with the free Lightroom presets installation, please check my dedicated tutorial here: How to Install Lightroom Presets
My free Lightroom presets work with images in different formats (RAW, JPEG, PNG, TIFF…). But I highly recommend using a RAW format, which offers the most flexibility and produces the highest quality.
If you need RAW images to practice Lightroom preset based editing, please visit my free library of RAW images. Fee free to download and use them for practice: Free RAW Photos for Editing
For the demonstration, I used the outdoor portrait image.
Using the Dark Shadows Free Black and White Lightroom Preset
Black and white photography is all about contrast. When we remove color information from the equation, all left are different shades of grey, from pure white to pure black. You manage the contrast by making some areas of the photo darker and others lighter.
I created the Dark Shadows preset for the scenes with a high dynamic range, such as landscapes and cityscapes.
The most apparent function of the presets is a black and white conversion. The second function is to balance the exposure. And the final goal is to maximize the tonal contrast.
At the same time, it is impossible to create the preset that, with one click, will work with any image because every image has a different initial contrast level.
The Dark Shadows preset workflow goes as follows, you apply the preset to the image first. Second, you adjust the contrast making it higher or lower.
And the best way to fine-tune contrast is to use the HSL panel to control contrast for each color channel separately.
Let’s see how the Dark Shadows preset works in a real-life scenario.
Below is the photo I took in the Sierra mountains in California. Because of the beautiful reflection and the boring blue sky, it was a perfect candidate for the black and white conversion.
When I shoot for black and white, I always set my Fujifilm mirrorless camera to produce RAW+JPEG, and I select ACROS black and white film simulation. It turns my EVF into a black and white mode, which helps me visualize the scene in black and white before even taking the shot.
But, I always start the processing in Lightroom with the color RAW version and discard the JPEG.
Let’s see how we can convert the color RAW photo into black and white.

I started applying the Dark Shadows free black and white preset and analyzed the photo to see if it needed any additional adjustments or fine-tuning.
Even though I liked the conversion, I still wanted to increase the contrast between the bright snow and the water’s dark reflections.
For such final tweaks, I used the TOOLKIT adjustment presets.
The TOOLKIT is the collection of Adjustment Presets. The presets allow fine-tuning of a photo without altering the style and Lightroom editing tools.
You can download the TOOLKIT Adjustment Presets, which is part of my free Travel Preset Collection, here: Free Travel Preset Collection
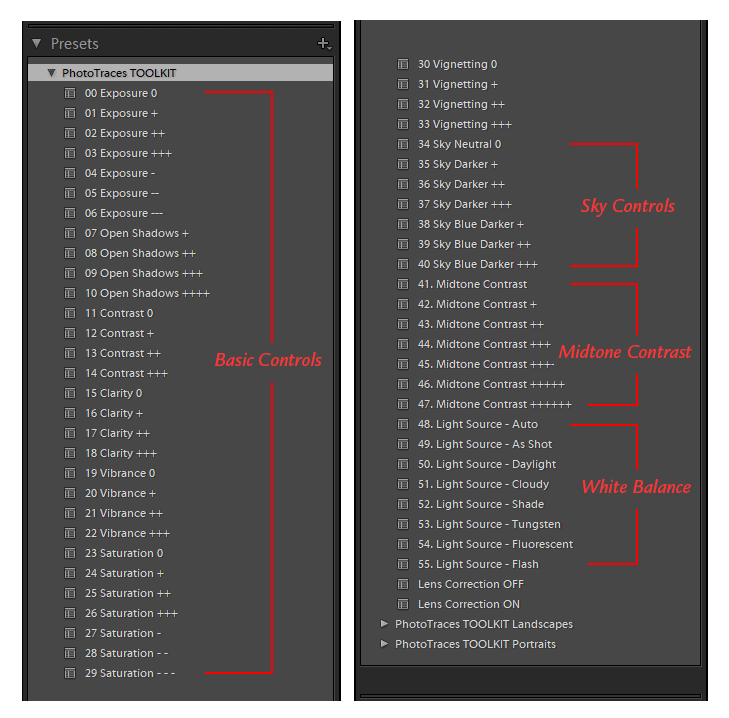
Next, I used the TOOLKIT.
I applied the following adjustments to increase the contrast:
9. Open Shadows +++
13. Contrast ++
32. Vignetting ++
45. Midtone Contrast ++++
The Editing Formula: Dark Shadows (9, 12, 33, 45)
And here is the final result:

Examples of Free Black & White Lightroom Preset Editing


Free Lightroom Presets Download
Below please find the complete free lightroom presets download (zip) library.

