My Free Travel Preset Collection is the result of 10 years of taking and processing photos. Each preset represents a style or artistic direction I explored in my career. By using my presets, it will be easier for you to discover what artistic style is closest to your heart.
Use my presets as a starting point for developing your own unique artistic vision.

Free Lightroom Landscape Presets
Landscapes are the most important part of my travel photography. Landscape photographs represent about 80% of the total photos I take. As a result, I pay the most attention to landscape editing techniques.
When I take landscape photos, I often have to deal with an extended dynamic range of the scene. This is a common occurrence when you have a very bright area around the sun and extremely dark areas in the shadows of the foreground. The main goal of editing landscapes is always the same—to reduce the dynamic range of light. In Lightroom, we do this by opening up the shadows and recovering the highlights.
When the main goal is achieved, the next challenge is to emphasize certain colors in the photo without going overboard. We highlight the blue hues of the sky and the green and yellow hues of the vegetation.
In the final step, we increase the overall contrast of the scene before we export the photo for publishing.
As you can see, the total number of edits for any given landscape photo can reach up to 50 in what can be a long and tedious process.
The good news is that I already incorporated these edits into my Free Lightroom Landscape presets, which you can use as a foundation for your Lightroom editing.
- Natural Preset – gives your landscapes a natural look with rich colors and well-defined skies.
- HDR Blend – when your photos have bright highlights and dark shadows, this preset is for you.
- End of Summer – stylish look with a hint of magenta color.
- Harsh Shadows – adds an extra punch with increased contrast.


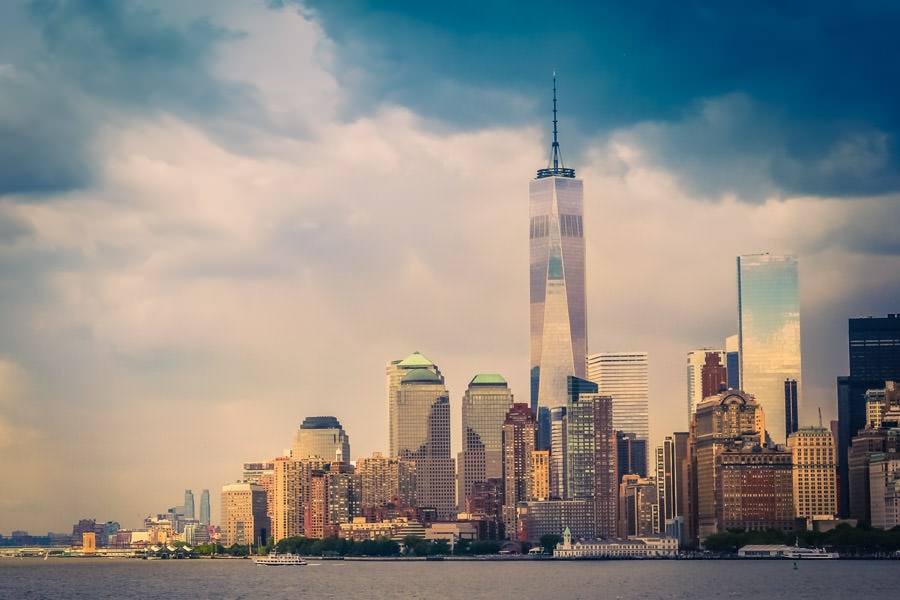
Free Lightroom Cityscape Presets
When we edit cityscapes, we can be much more aggressive in our editing compared to landscapes. We can freely experiment with changing colors and tones, boosting the contrast and clarity to the extreme and even exploring unconventional color combinations.
The reason for such freedom is because there is no reference point for viewers looking at your picture. In most cases, the viewer does not know what the color of the building actually is, which allows you to freely manipulate it.
My Free Lightroom Cityscape Presets incorporate a much more aggressive editing style compared to the landscape and portrait presets.
- Hawaii Sunset – when your photos have bright highlights and dark shadows, this preset is for you.
- Gentle Wave – muted colors with extra contrast.
- Haze – a vintage style with toned down colors and low contrast, which creates a look similar to Instagram filters.

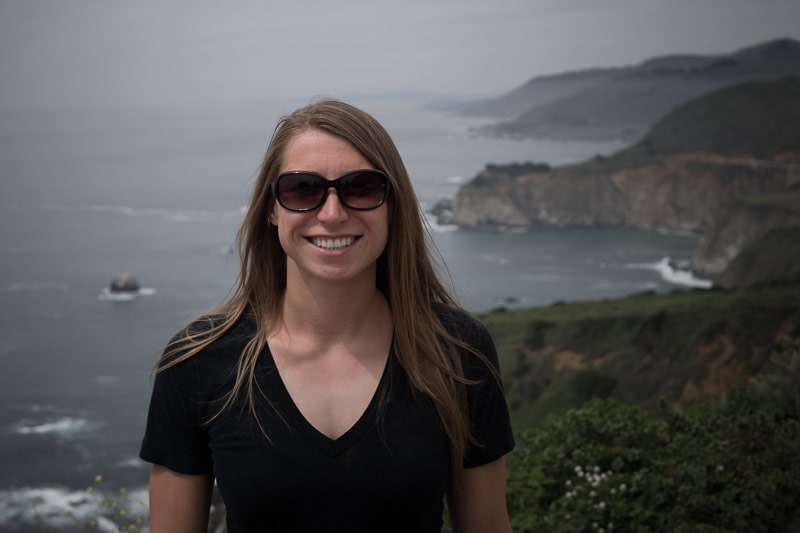
Free Lightroom Presets for Portraits
When processing portraits, the editing process becomes more restrictive. The main reason for this is because of the skin color of your subjects, which becomes the most important reference point for viewers. The degree to which you can manipulate portraits is much smaller compared to cityscapes and landscapes.
You cannot easily manipulate colors in portrait photography because, if the color of
To address these limitations when developing the Lightroom Presets for Portraits, I classified them into two categories.
The Natural Presets (Clearface)
The goal for this preset is to be as natural as possible. It opens up the shadows without applying any contrast and smooths the skin’s imperfections without making them softer.
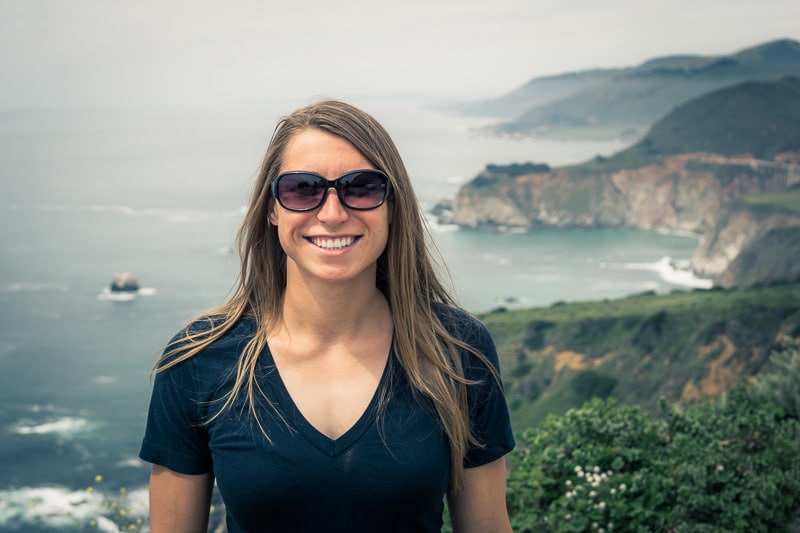
The Creative Presets
When developing the creative presets, I tried to push the boundaries a bit. Thanks to 1970s and 1980s fashion magazines popularizing the cross-processed style, everyone is accustomed to a more artistic look. Most of my creative presets employ the cross-processed treatment at varying degrees.
- Clearface – a preset created specifically for portraits. It opens up the shadows, smoothes the skin and de-saturates orange and red colors for more
natural looking skin tones. - In Style – originally created for portraits and group shots, it has the classic cross processing look.
- Coffee Time – stylish processing with brown/red overlay
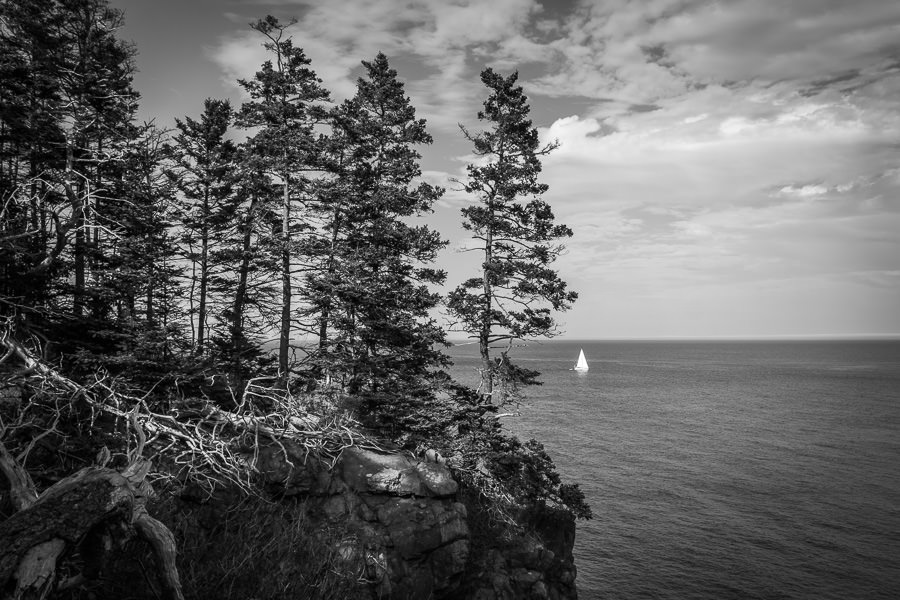
Free Black and White Lightroom Presets
The Free Lightroom Travel Collection would not be complete without black and white
Using the black and white presets with environmental portraits creates a classic look and feel by discarding colors and relying only on tonal contrast.
Another practical way of using black and white presets with landscape photos is when the light in the scene is undesirable like in the middle of a sunny day, for example. The black and white treatment often becomes the only way to salvage the photo.
- Soft Shadows – balanced black and white style suitable for portraits and landscapes.
- Darkroom – retro, analog black and white/sepia style with extra grain.

Just sign up with your email and I will send you the free preset collection with the instructions
on how to install and use them