After visiting the Valley of the Gods, Goosenecks Park, the Monument Valley, and the Horseshoe Bend, it was time to explore the Vermilion Cliffs National Monument
The original Navajo Bridge was built in 1929, and after serving for nearly 70 years it was replaced by
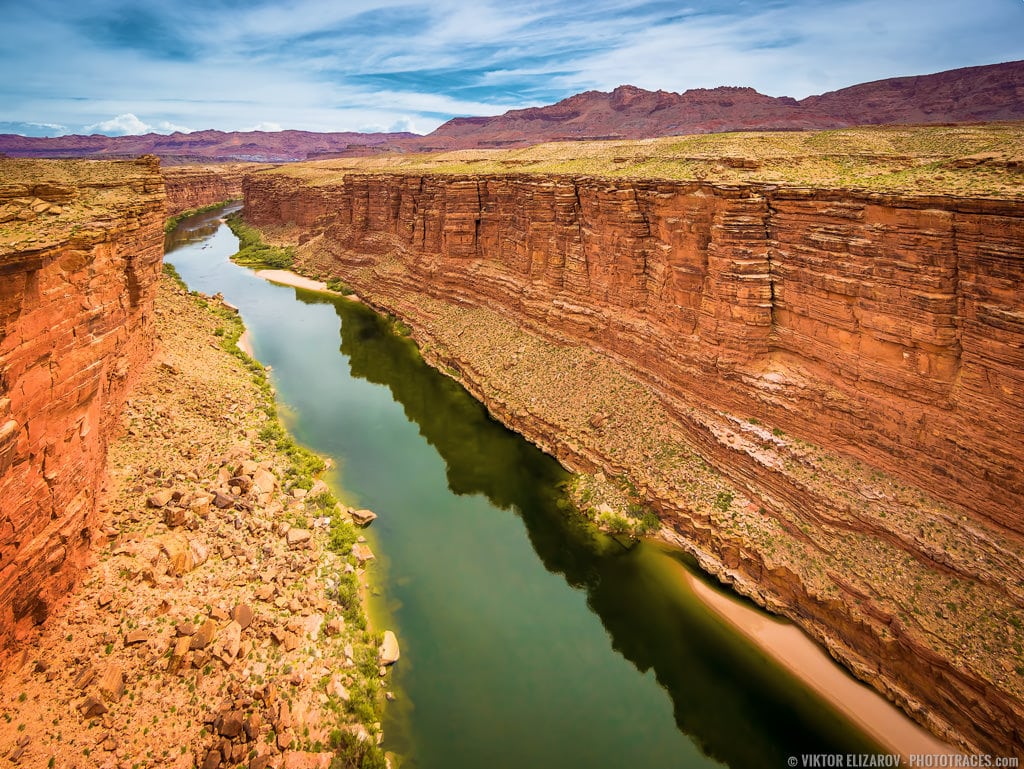
The Navajo Bridge gives us the opportunity to photograph the Marble Canyon from the unique perspective
What was different the time I took the featured photo, the color of the Colorado River. Normally, it is dark blue, but this time it was bright green, almost emerald. I knew right away it would make an interesting photo if I emphasized the contrast between the colors of the river, the canyon, and the sky.
Loc: 36.817771, -111.631424
Shooting
The primary challenge was to find an interesting composition. Even though the bridge gave me the unique perspective to photograph the Marble Canyon, it was also a limiting factor. It often obstructed the views when shooting wide from the certain perspectives. I tied to use tripod first but later decided to ditch it to have more freedom shooting handheld.
Camera: Sony s6000
Lens: Sony 10-18mm
Focal Length: 10mm
Shooting Mode: Aperture Priority (A)
ISO: 100
Aperture: F8
Shutter Speed: 1/250s
Tripod: handheld
Editing & Processing
It was a simple and uncomplicated a single RAW processing workflow.
Lightroom (90%)
First, I needed to fix the vertical perspective. I was shooting from above and as the result, all the verticals were converging downwards. I used the Transform Panel to fix it.
I also change the aspect ratio of the image from the original 3 x 2 to 4 x 3 by using the Crop Overlay Panel.
I used the process I outlined in the article: How to Straighten a Photo in Lightroom.
Next, I used the Natural preset from my Landscape Preset Collection as the base for Lightroom Rapid Editing. Then I used TOOLKIT to boost the Contrast and the Clarity.
The Lightroom Preset Editing Formula: Natural (9, 13, 20, 25, 32)
Photoshop (10%)
In Photoshop all I had to do was to boost the details and reduced the noise.
Plugins: DeNoise (noise reduction), Topaz Detail (local contrast boost).
Total Time: 15min
Before & After Transformation
