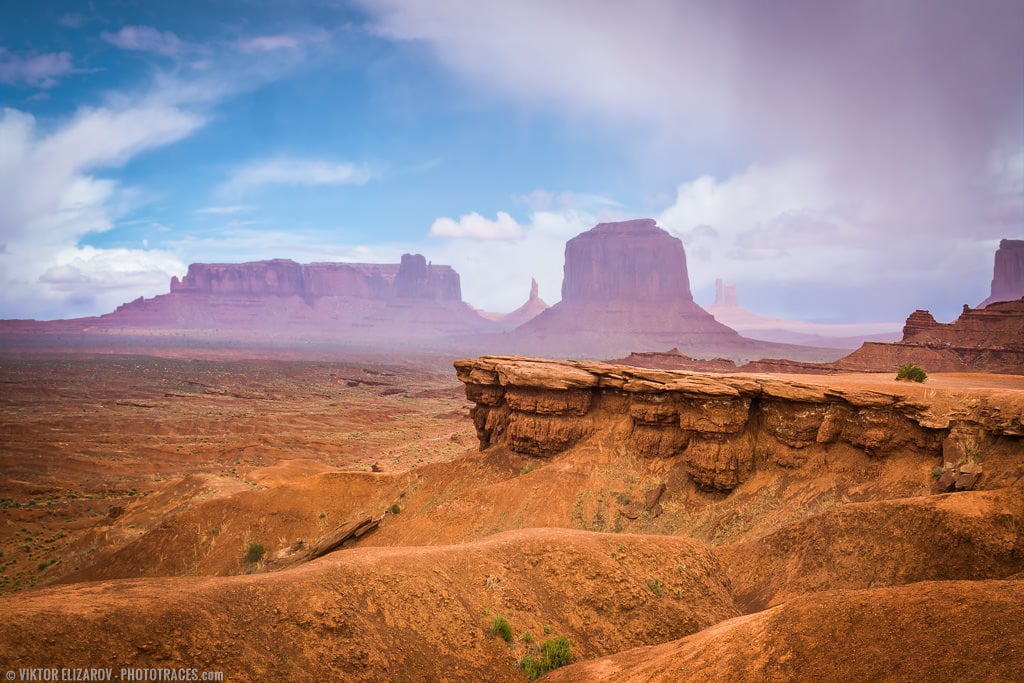
The John Ford’s Point, without doubt, is the most iconic and recognizable spot in the Monument Valley. At the same time, it is probably the busiest place in the park. Because of its proximity to the park’s entrance and huge parking lot it is always full of tourists.
I did not have big plans for
But, when I was entering the park, the rain came out of nowhere. In a matter of minutes, the temperature dropped by at least 15°C. It scared away most of the tourists. For the next few hours, I had the Monument Valy pretty much to myself
Loc: 36.953240, -110.086364
Shooting
The main challenge was to make sure rain would not ruin my camera and lens. I was hiding the camera under my jacket between the shots and kept wiping the lens after each shot. This is when I realized that I absolutely needed a weather sealed camera and lens combo.
Camera: Sony s6000
Lens: Sony 16-70mm
Focal Length: 20mm
Shooting Mode: Aperture Priority (A)
ISO: 100
Aperture: F7.1
Shutter Speed: 1/250s
Tripod: handheld
Editing & Processing
It was a simple and uncomplicated single RAW processing workflow.
Lightroom (90%)
First, I used the Crop Overlay tool to straighten the photo and to make composition a bit tighter. I used the process I outlined in the article: How to Straighten a Photo in Lightroom.
Next, I used the Natural preset from my Landscape Preset Collection as the base for Lightroom Rapid Editing. Then I used TOOLKIT to boost the Contrast and the Clarity.
The Lightroom Preset Editing Formula: Natural (9, 12, 16, 21, 31)
Photoshop (10%)
In Photoshop all I had to do was to boost the details and reduce the noise.
Plugins: DeNoise (noise reduction), Topaz Detail (local contrast boost).
Total Time: 10min
Before & After Transformation

Just curious… couldn’t Topaz be accessed straight from Lightroom vs Photoshop?