The Camel Butte is one of Monument Valley’s signature landmarks were very high on my to-do list during my first visit to the region.
When I approached the GPS coordinates of Arizona’s Camel Butte, I was a bit confused at first because I could not find it. The famous formation was completely covered by the combination of low, dark clouds and fog that made it invisible even from a distance of only a couple hundred meters. It was also raining very hard.
What I learned from my previous visits to the Southwest was that the weather is unpredictable and constantly changing in the middle of spring. That’s why I decided to take a pause and wait out the rainy and foggy conditions.
Luckily, I did not have to wait for long. By the end of my 20-minute lunch break in the car, the storm was gone and the sun was back illuminating the rocks with beautiful, soft light.c
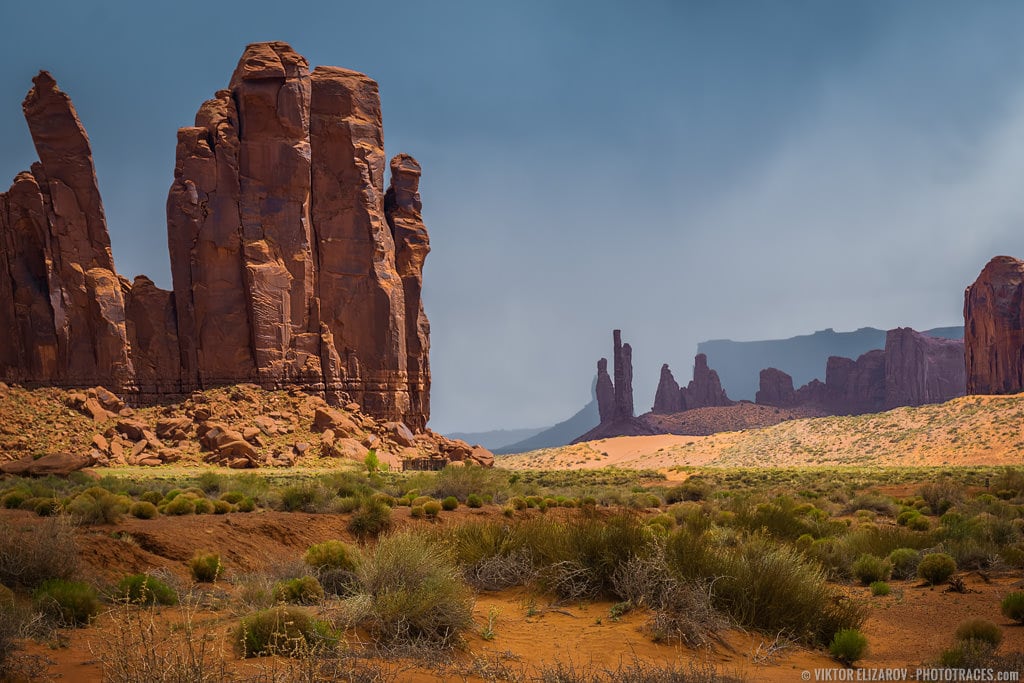
Loc: 36.952014, -110.079115
Shooting
The only challenge here was to keep my lens dry. I had to remember to check the front of the lens constantly and wipe the water drops when necessary..
- Camera: Sony a6000
- Lens: Sony 16-70
- Focal Length: 45mm
- Shooting Mode: Aperture Priority (A)
- ISO: 100
- Aperture: F10
- Shutter Speed: 1/250s
- Bracketing: 3 (-1, 0, 1)
- Tripod: FEISOL Tournament CT-3442 – Check my FEISOL Tournament CT-3442 Review
- Ballhead: FEISOL CB-40D
Processing
It was a single RAW file editing.
I used the Natural preset from my Landscape Collection first and after I used TOOLKIT to boost colors and contrast.
The Lightroom Preset Editing Formula: Natural (9, 16, 21, 32)
After I was done with Rapid Editing I had to do one very simple but important adjustment. I shifted the Purple Slider in HSL Panel towards the blue tones to remove unnatural color cast from the sky.

Photoshop: color correction, contrast.
Photoshop Plugins:
- Topaz DeNoise was used to reduce digital noise.
Before & After Transformation


.