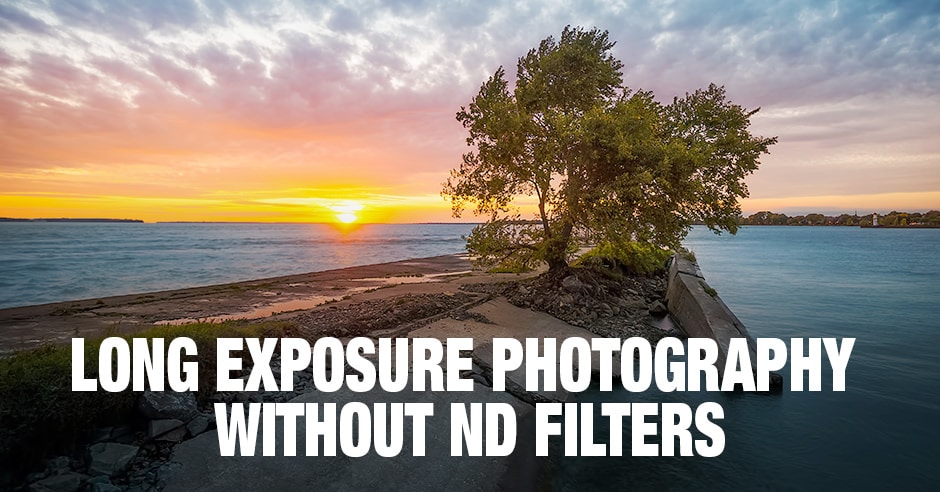
Today, I want to share my favorite technique to achieve the long exposure effect in broad daylight without using any filters.

Nothing can improve seascapes like the effect of smooth and silky looking water. Such an effect can be achieved by keeping the shutter open for a longer period of time.
This is called the Long Exposure Effect.
When you shoot during the golden hour or the blue hour, it is easy to obtain a shutter speed of 0.5 – 1 second by increasing the aperture. But, in broad daylight and because of the abundance of light, longer shutter speed is impossible to obtain without the use of filters.
The most common way to manage the long exposure photography technique during the day is to use Neutral Density Filters (ND) to block the light that passes through the lens and reaches the sensor.
I have a 10-stop Neutral Density Filter in my bag that allows me to use the long exposure technique even during the brightest days. The only problem with using ND filters is that it takes time to set everything up and figure out the right shutter speed before I can start shooting.
After realizing that I use the ND filter less and less because I cannot afford to spend enough time to set everything up properly at every seascape I want to photograph during my travels, I started looking for alternatives.
My goal was to find a way to accomplish the long exposure effect in the water and in the sky without spending too much time on preparations.
Related: Best Variable ND Filter
After some research and testing, I created a completely different routine for myself that allowed me to almost entirely eliminate the use of ND filters.
Let me demonstrate how my new routine works.
Case Study: Daytime Long Exposure Photography at Morro Bay
I had a very busy schedule during one of my drives from Los Angeles to San Francisco. When I approached Morro Bay in the morning, I knew that the time I allocated to the area was minimal, so the plan was to take a few shots of the famous Morro Rock and keep driving towards Big Sur.
As usual, it was very breezy at Morro Bay with the wind generating small, but very fast moving waves in the water.
I knew if I took a shot with a “normal” shutter speed of 1/100-1/250 seconds, the water would look like this:

In order to achieve the look I wanted, I knew that I needed to use longer shutter speed.

Instead of setting up the ND filter, I took eight single shots with a shutter speed of 1/200 seconds with approximately 1-second intervals between each shot. Five minutes later, I was back in my car driving north.
I performed the rest of the long exposure technique during my editing process when I returned back home.
Workflow: Step 1
After importing a sequence of 8 images I shot at Morro Bay, I used the Rapid Editing PLUS workflow.
I used the combination of STYLE presets and TOOLKIT adjustments to one of the images from a sequence of images.
When I was happy with the look I applied the same editing effect to the rest of the images using SYNC… functionality of Lightroom.

Lightroom Rapid Editing Formula: Natural 90% (9, 13, 17, 31)
Workflow: Step 2
I selected 8 images in Lightroom and used command Edit In > Open As Layers In Photoshop (right/option-click).

Workflow: Step 3
I selected all 8 layers and converted them to a Smart Object (right/option click)

Workflow: Step 4
I used the following command to blend the 8 original layers inside of the Smart Object.
Layer > Smart Object > Stack Mode > Mean
This resulted in a long exposure effect by moving elements of the scene (water).

Workflow: Step 5
To make sure the boats were perfectly sharp I blended together two layers, one with the Smart Object I created in the previous step and another with the single RAW image from the original 8 photos sequence.
I used the area of the water the top layer and, the rest of the scene from the bottom layer.


Below is the final Before & After transformation:
.

